
Installation Guide
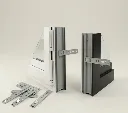
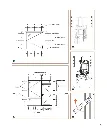
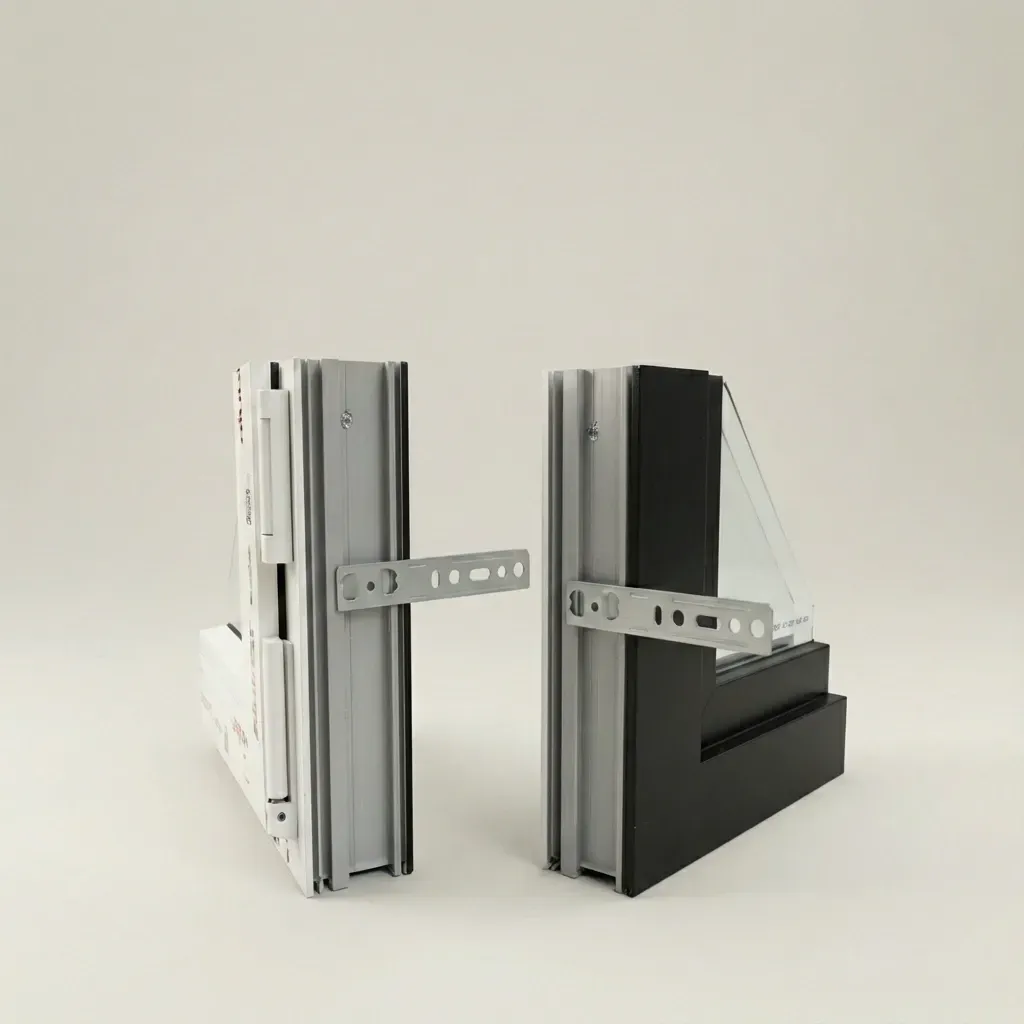
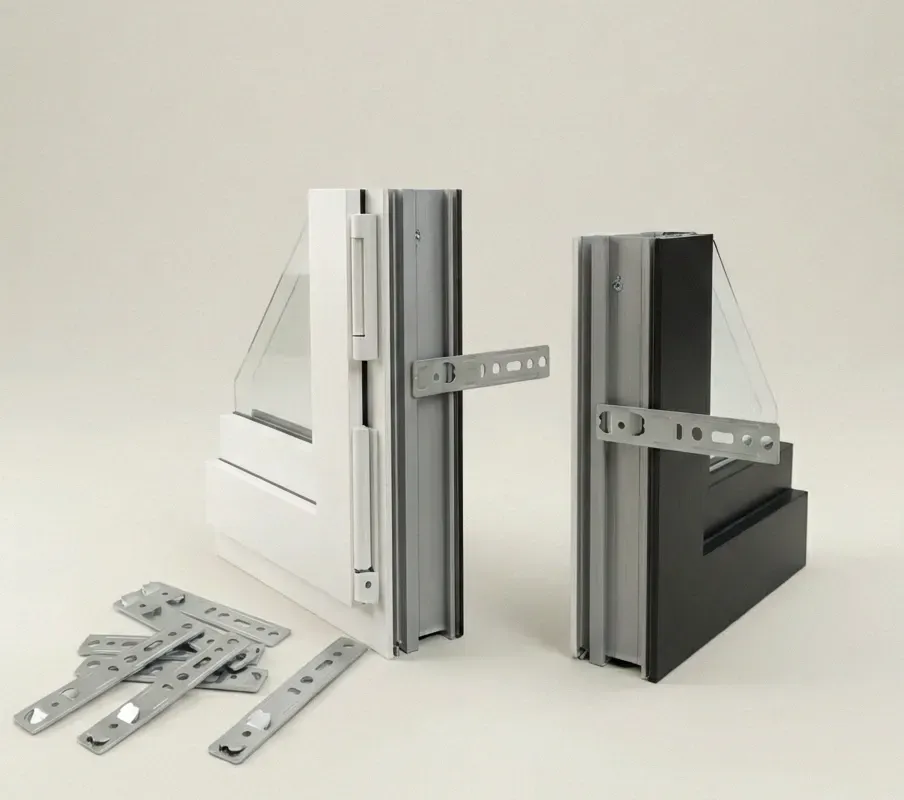
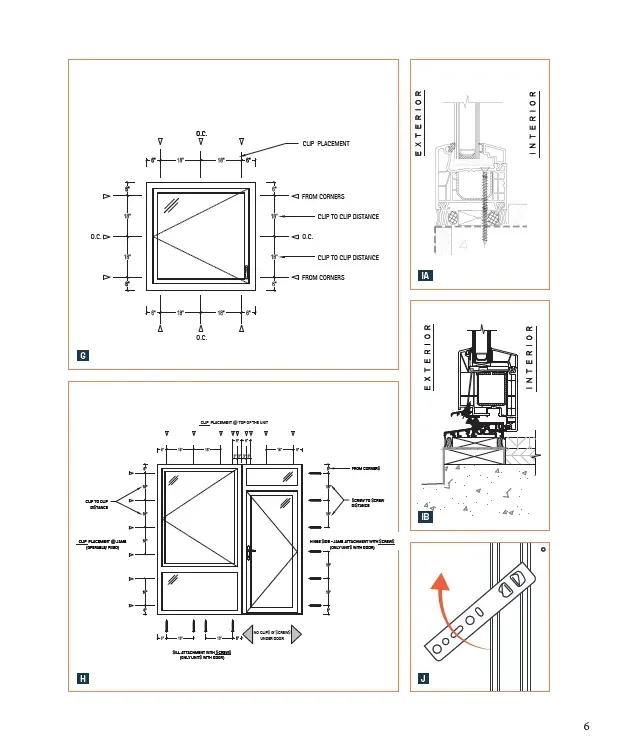
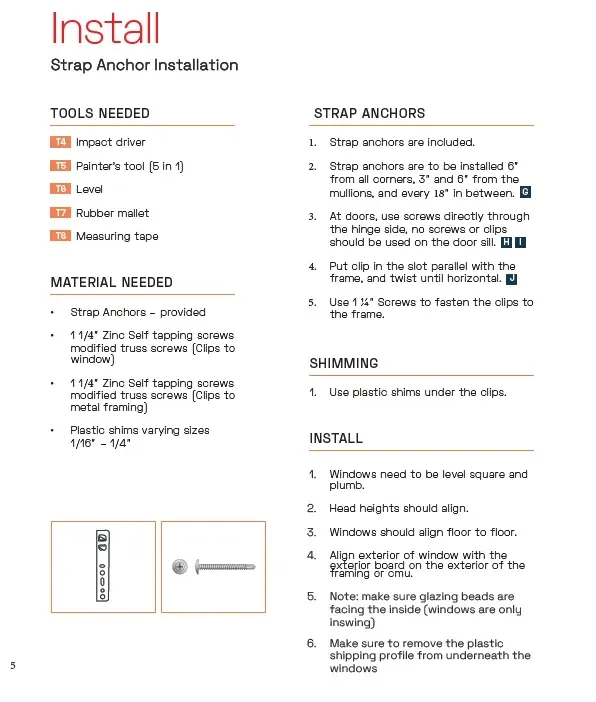
To install using installation brackets, begin by placing the window into a clean, rough opening and ensuring it is level, square, and plumb. Strap anchors should be installed starting approximately 6 inches from all corners, 3 inches from mullions, and spaced every 18 inches in between. Insert each bracket into the designated slot in the window frame so it sits parallel with the frame and perpendicular to the wall surface. Use plastic shims beneath the brackets as needed to maintain proper alignment. Fasten the brackets to the framing using appropriate self-tapping screws, ensuring the window remains square and properly aligned from floor to floor. At doors, screws should be driven through the hinge side only, with no clips or fasteners placed on the door sill. Once secured, verify alignment and remove any plastic shipping profiles from beneath the unit. Glazing beads should face the interior, as the windows are inswing.
Materials Needed
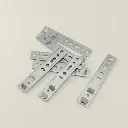
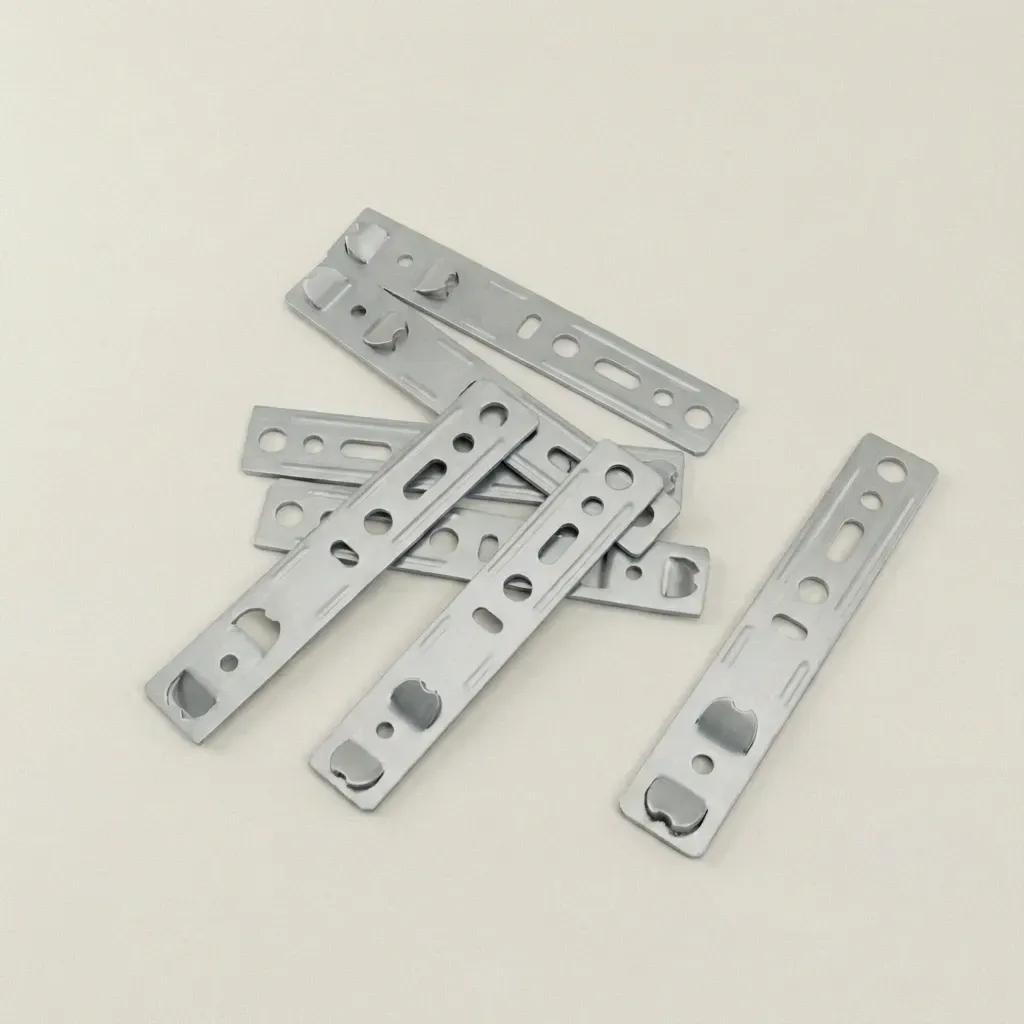
Materials needed include installation brackets (strap anchors), zinc self-tapping screws for fastening the brackets to both the window frame and metal framing, and plastic shims in varying sizes ranging from 1/16″ to 1/4″. These materials are used to properly secure and align the window within the opening.
Tools Needed
Installation using brackets requires basic tools including an impact driver, painter’s tool, level, rubber mallet, and measuring tape.