


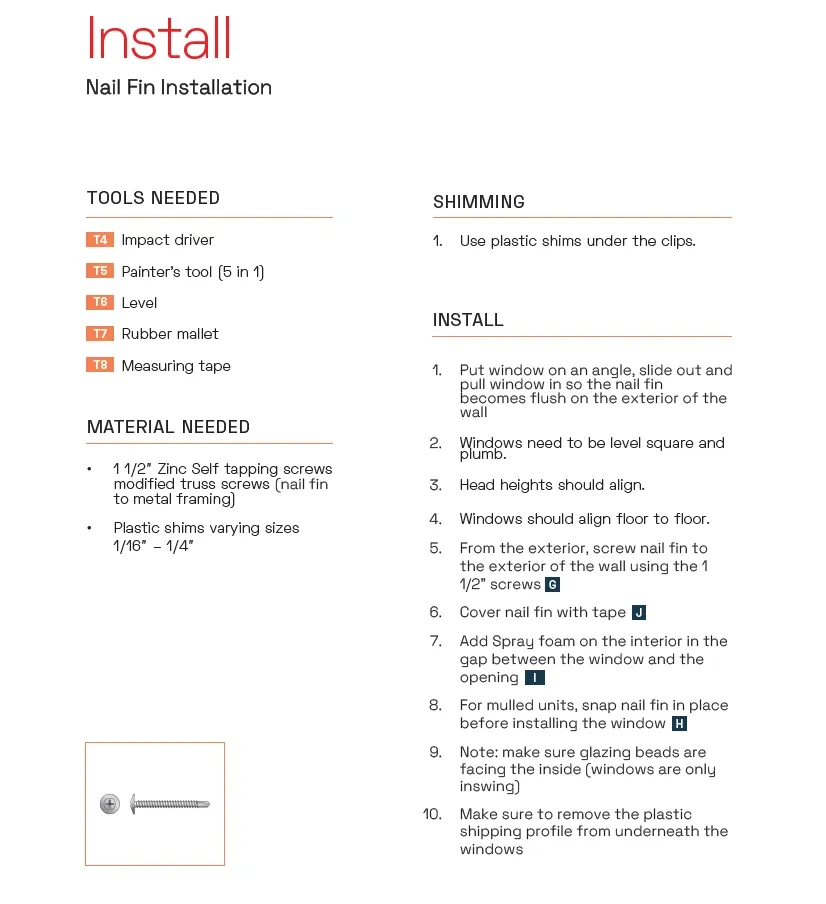
Installation Guide
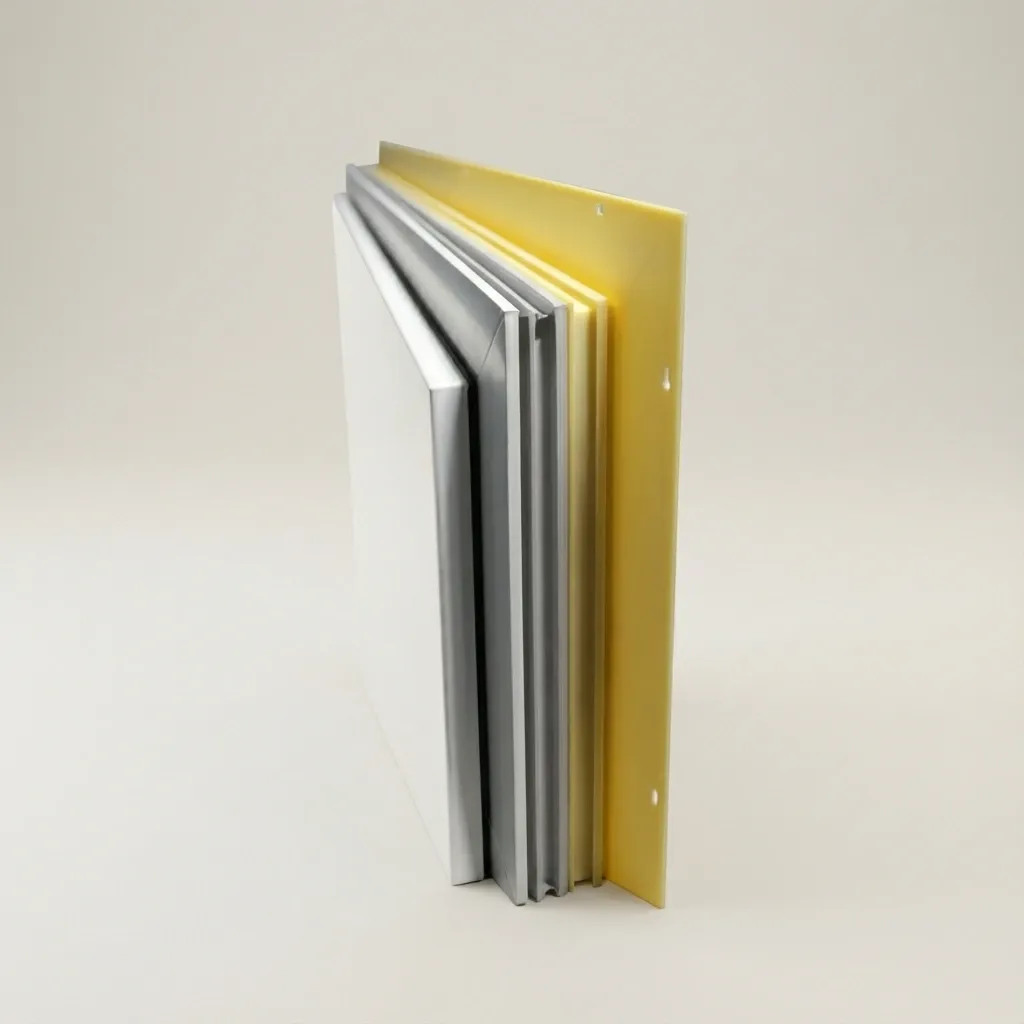
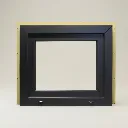
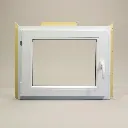
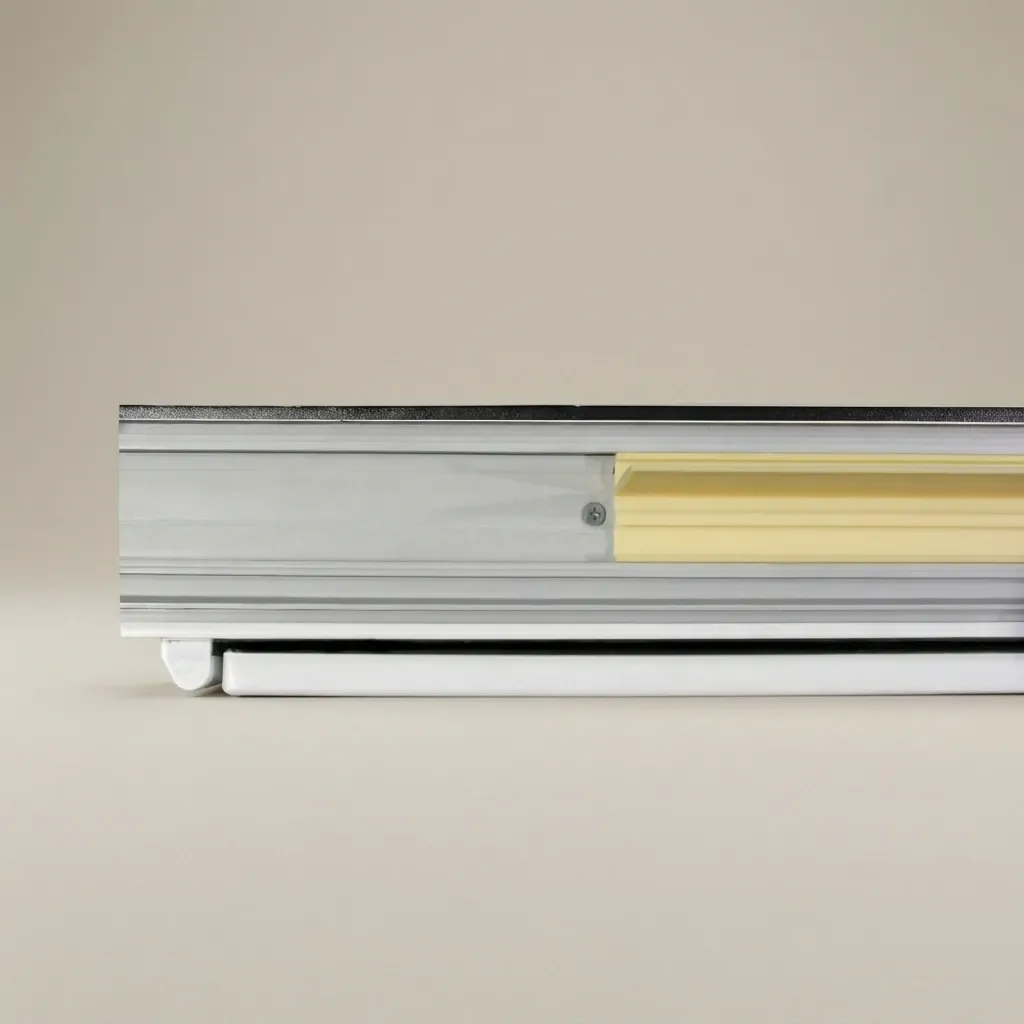
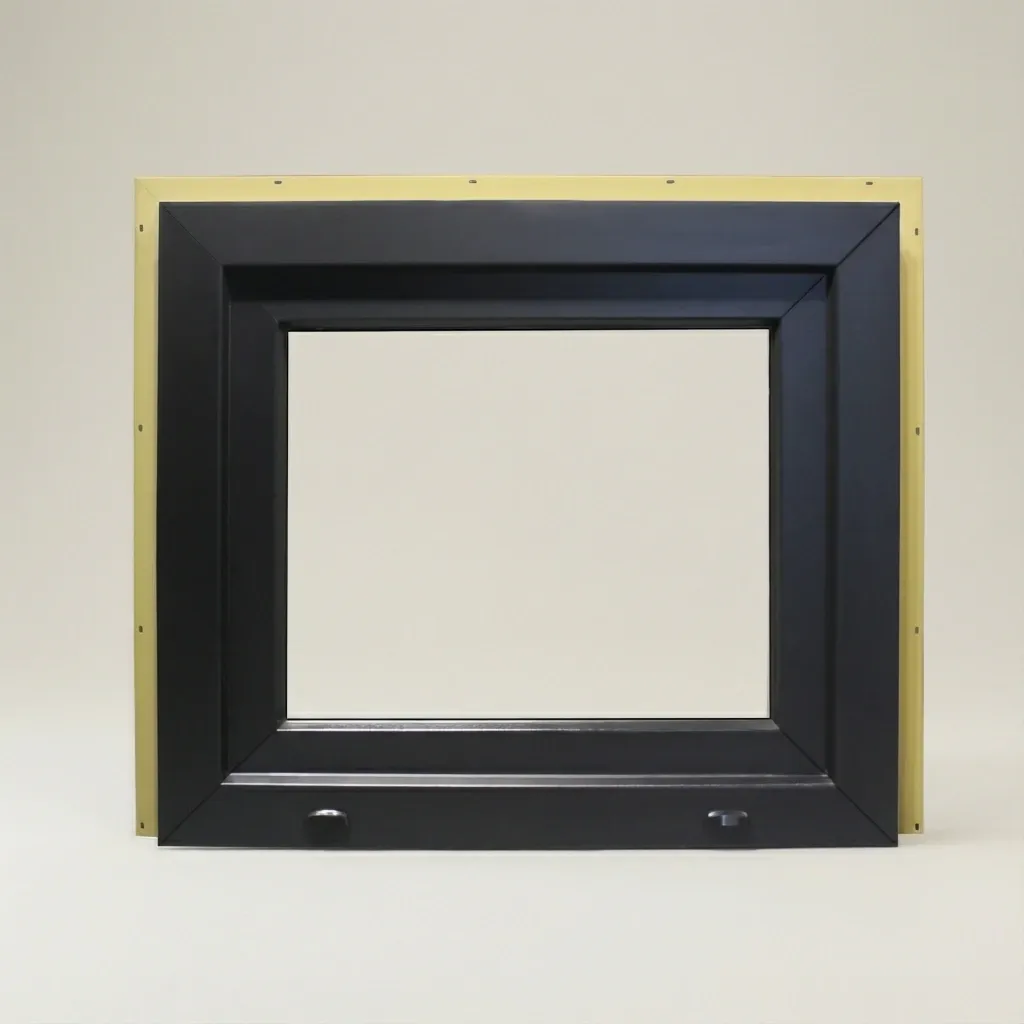
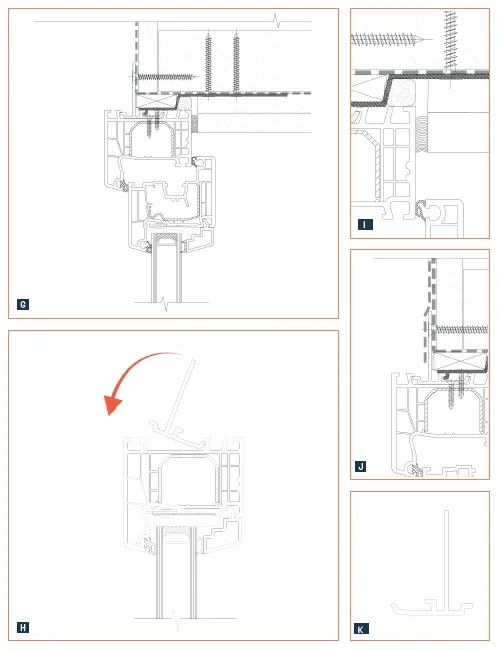
To install the nail flange, begin by preparing a clean, rough opening that is square, level, and plumb. Set the window into the opening at a slight angle and slide it in until the nail flange rests flush against the exterior wall. Use plastic shims beneath the flange clips as needed to ensure proper leveling and alignment. Verify that the window is square and plumb, that head heights are consistent, and that the unit aligns correctly from floor to floor. Once positioned, fasten the nail flange to the exterior wall using appropriate screws. After securing the flange, cover it with flashing tape to protect against water intrusion. From the interior, apply spray foam insulation in the gap between the window frame and the rough opening. For mulled units, the nail flange should be snapped into place before installation. Ensure glazing beads face the interior, as the windows are inswing, and remove any plastic shipping profiles before final use.
Materials Needed
Materials needed include 1½″ zinc self-tapping screws designed for metal framing and plastic shims in varying sizes ranging from 1/16″ to 1/4″. These items are used to properly secure, level, and align the window during installation.
Tools Needed
Installation of the nail flange requires basic tools including an impact driver, painter’s tool, level, rubber mallet, and measuring tape.