


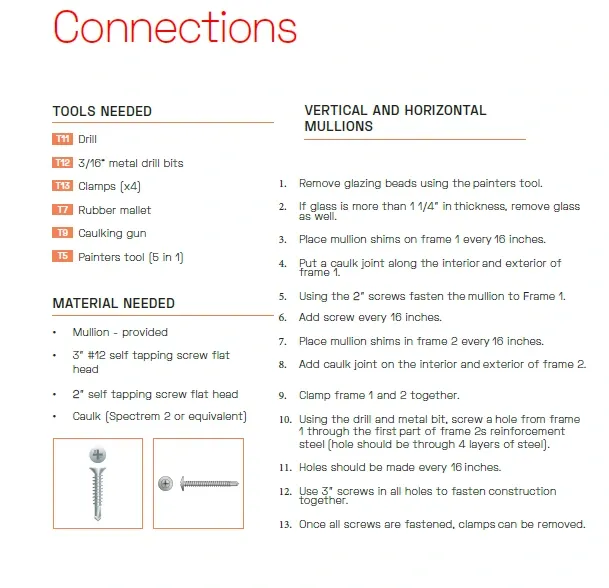
Installation Guide
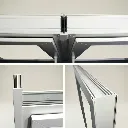
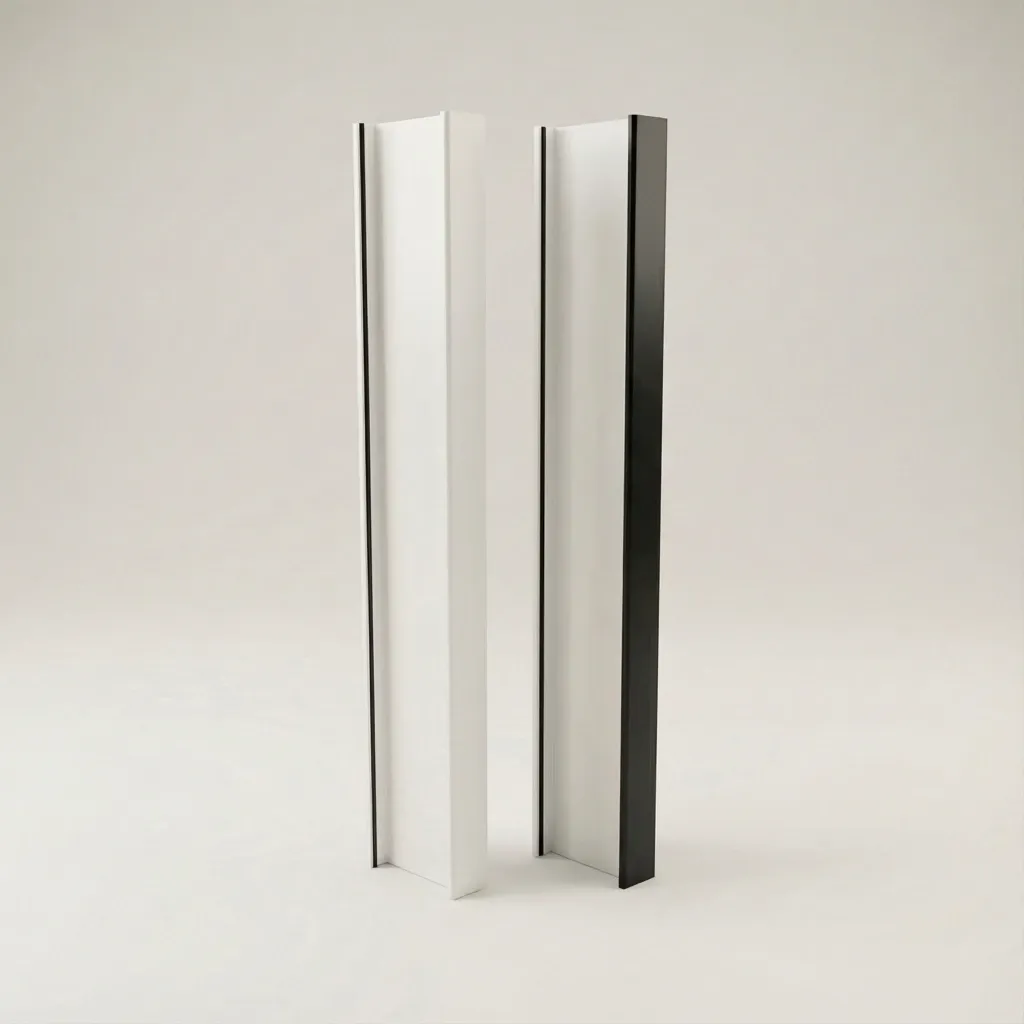
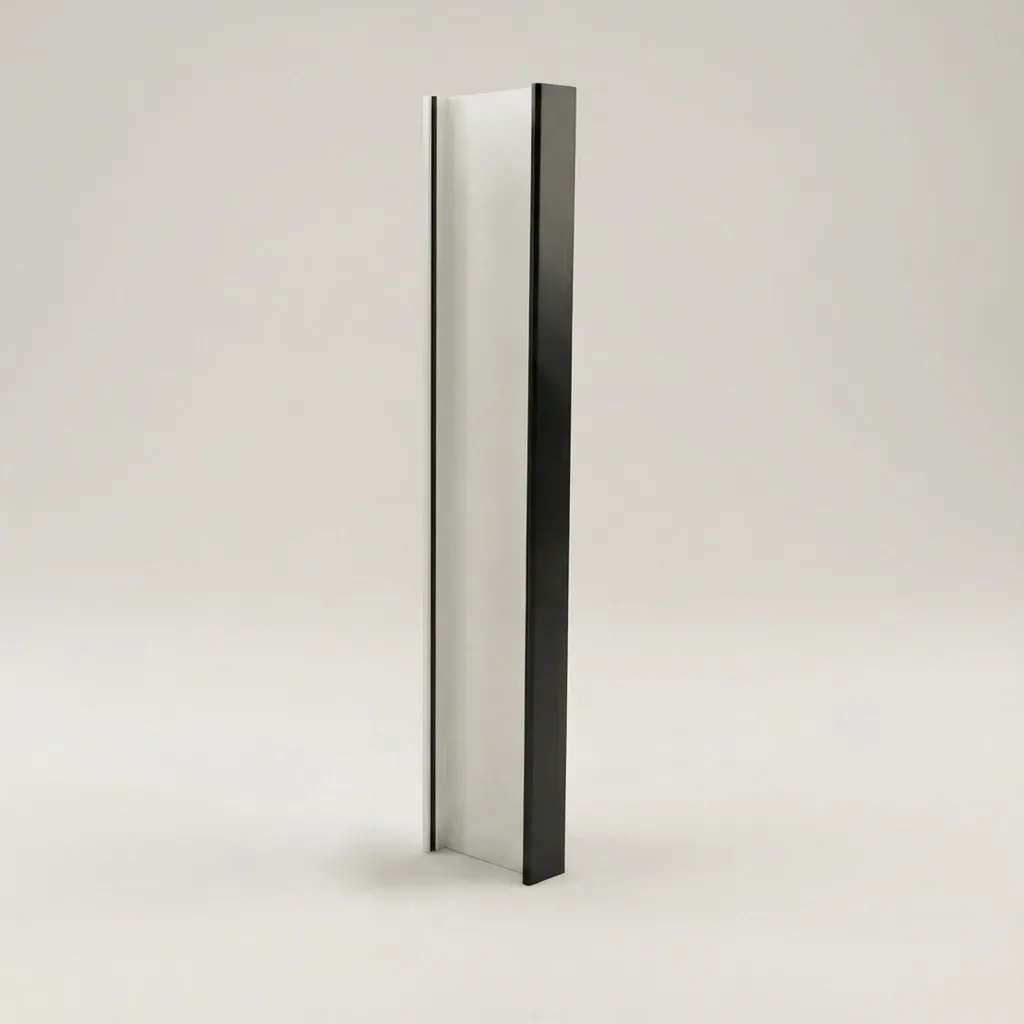
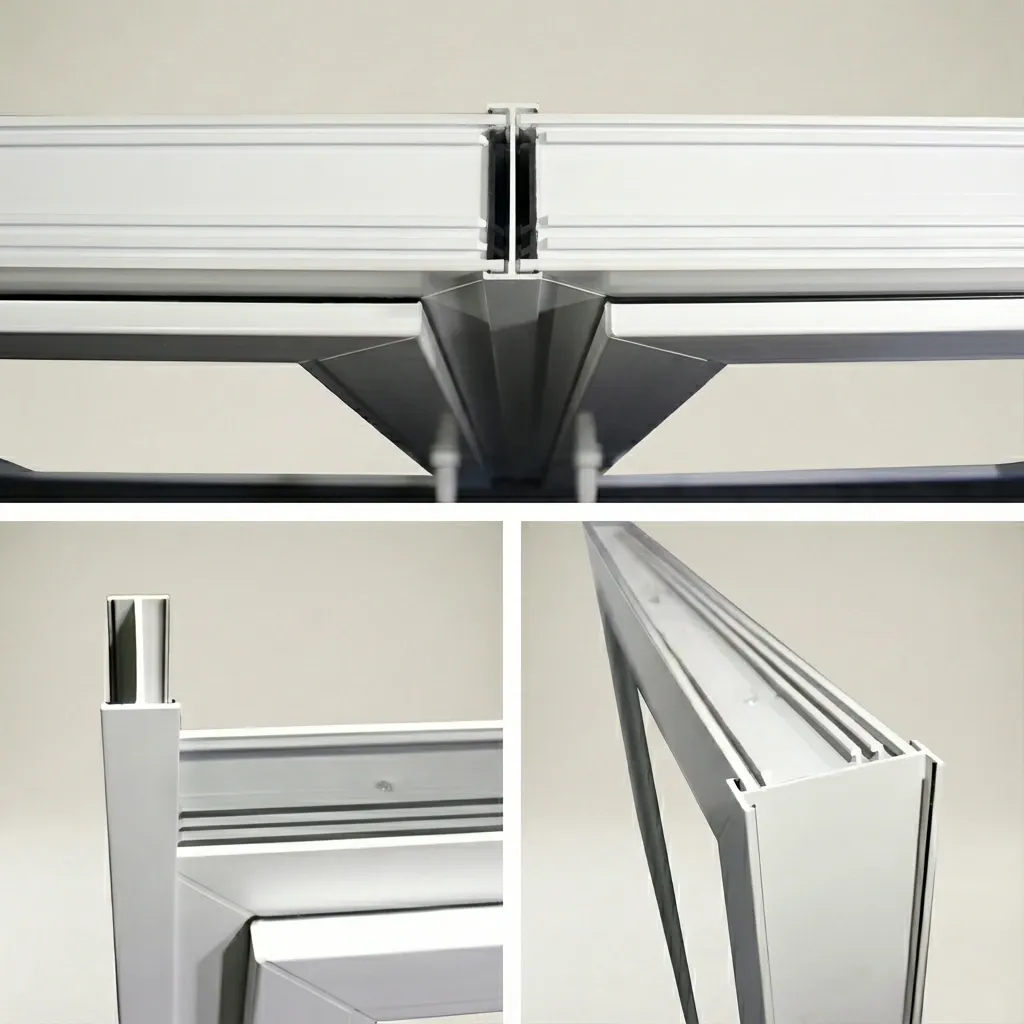
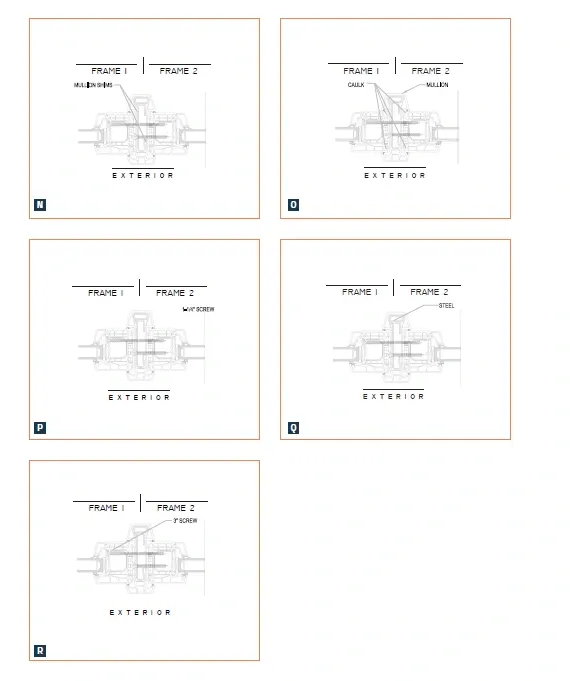
To install connectors, begin by removing the glazing beads using a painter’s tool. If the glass thickness exceeds 1 1/4″, remove the glass before proceeding. Place mullion shims on the first frame at 16-inch intervals. Apply a continuous caulk joint along both the interior and exterior sides of the first frame, then fasten the mullion to the frame using 2″ self-tapping screws spaced every 16 inches. Repeat the shimming process on the second frame, apply caulk to both interior and exterior surfaces, and bring the two frames together. Clamp the frames securely. Drill through the first frame and reinforcement steel, ensuring penetration through all required steel layers, with holes spaced every 16 inches. Use 3″ self-tapping screws in all drilled holes to secure the assembly. Once all fasteners are installed, remove the clamps and reinstall the glazing beads.
Materials Needed
Materials needed include the provided mullion connector, 3″ #12 self-tapping flat-head screws, 2″ self-tapping flat-head screws, and a high-quality sealant such as Spectrem 2 or an equivalent product. These materials are used to fasten the frames together and ensure proper sealing between units.
Tools Needed
Installation of connectors requires a drill, 3/16″ metal drill bits, clamps, a rubber mallet, a caulking gun, and a painter’s tool.